How To Add Google Search Console To WordPress: The Definitive Guide (2025)
Are you looking for a complete Google Search Console WordPress setup? You’re at the right place.
If you’re running a WordPress site and aren’t yet using Google Search Console, you’re missing out on a ton of valuable data that could significantly improve your site’s performance in search results.
Google Search Console is a free tool offered by Google that helps you monitor, maintain, and troubleshoot your site’s presence in Google Search results. It helps you understand Google search queries about your site and provides insights into what needs to be improved.
In this article, we’ll walk you through every step to add Google Search Console to WordPress, from initial setup and verification to connecting the console with Google Analytics for deeper insights. Whether you’re looking to connect Google Search Console to WordPress for the first time or just seeking to enhance your existing setup, this guide will provide you with all the knowledge you need.
Let’s connect your WordPress site with Google Search Console and set it up for success!
Google Search Console WordPress Setup (TOC):
Understanding Google Search Console
Before we proceed with the Google Search Console Setup, let’s first understand Google Search Console (GSC) and why it’s an essential tool for anyone with a website, especially for those using WordPress.
Google Search Console is a powerful tool provided by Google that helps website owners understand how the search engine views their site. This tool provides valuable information to help you optimize your site for better performance in Google’s search results.
What Can Google Search Console Do for You?
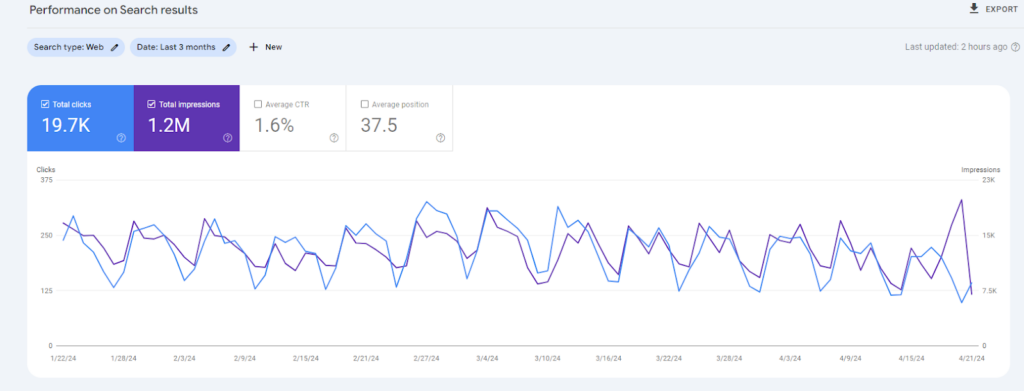
- Performance Tracking: It shows you how often your site appears in Google Search, which search queries show your site, how frequently searchers click through for those queries, and more.
- Website Issues: It alerts you about indexing problems, spam issues, or other errors affecting your site’s visibility.
- Sitemaps: You can submit sitemaps through Google Search Console, which helps Google better understand your site structure and more efficiently discover all your pages.
- Fix Crawl Errors: It identifies crawl errors such as 404 pages and other server errors that Google encounters while crawling your site. This allows you to address these issues to improve site accessibility and performance.
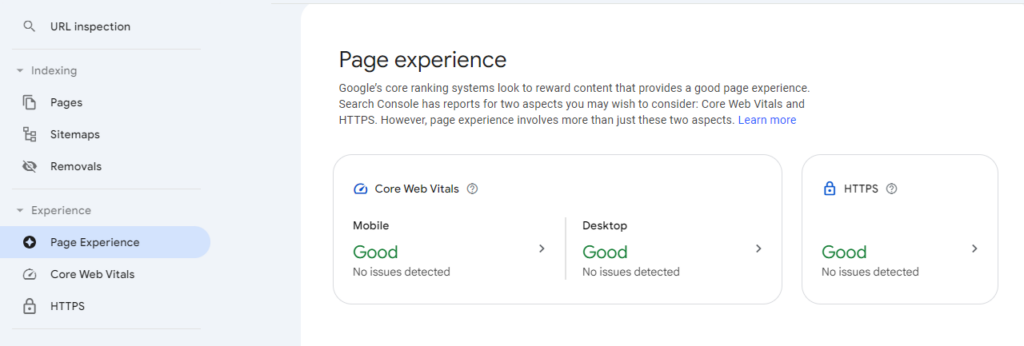
- Mobile Usability: The console provides reports on mobile usability, showing issues that might affect your site’s user experience on mobile devices.
- Security Issues: Google alerts you about potential security issues such as hacking and malware so that you can take immediate action to secure your site.
7. Manual Actions: It informs you of any manual penalties imposed on your site due to violation of Google’s webmaster quality guidelines.
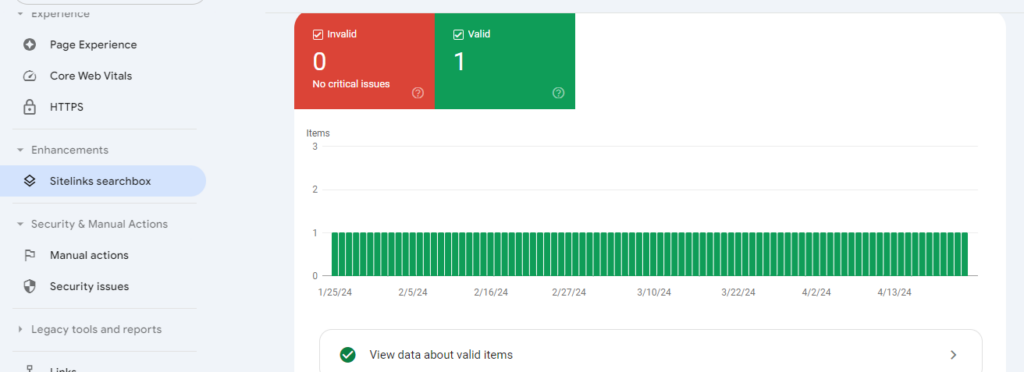
8. Enhancements: For specific website features like structured data, the tool can show detailed reports and any issues detected with your implementations.
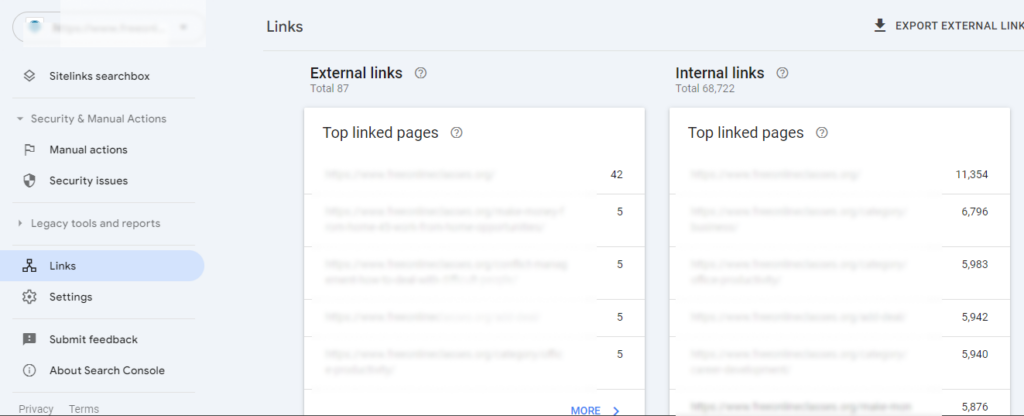
9. Links: You can see the external and internal links to your website. This helps you understand how your site is linked from other sites and the internal link structure of your own site.
Why Use Google Search Console with WordPress?
Integrating Google Search Console with your WordPress site allows you to:
- Monitor how Google perceives your WordPress site.
- Add Google Search Console Code to WordPress easily with plugins or manual code insertion.
- Quickly fix any indexing problems and optimize your site’s SEO.
- Track changes in your search rankings with respect to the number of clicks your web pages receive to understand the impact of your site’s SEO strategies.
How to Add Your WordPress Site to Google Search Console (Step-by-Step Google Search Console Setup)
In this section, we’ll help set up your GSC account, add your WordPress site, verify your ownership and finally integrate google search console with Google Analytics.
Step 1: Creating Your Google Search Console Account
If you’re new to this, the first thing you’ll need is a Google Search Console account. Here’s how you can set one up:
- Visit the Google Search Console website:
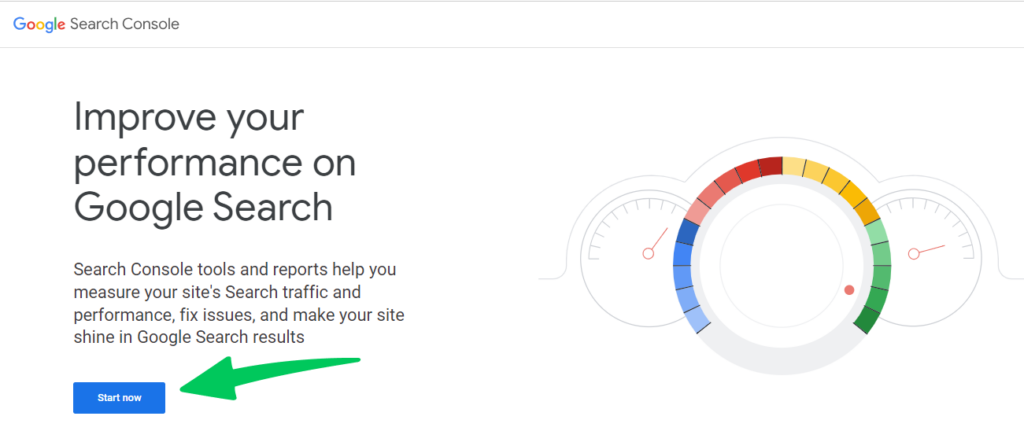
Go to Google Search Console and click on Start now.
2. Sign in with your Google account:
Use your existing Google account to sign in. If you don’t have a Google account, you’ll need to create one. This account will be the admin for your Google Search Console.
3. Start the setup process:
Once you’re signed in, you’ll be prompted to begin the setup. Click on ‘Add a property’.
4. Choose property type:
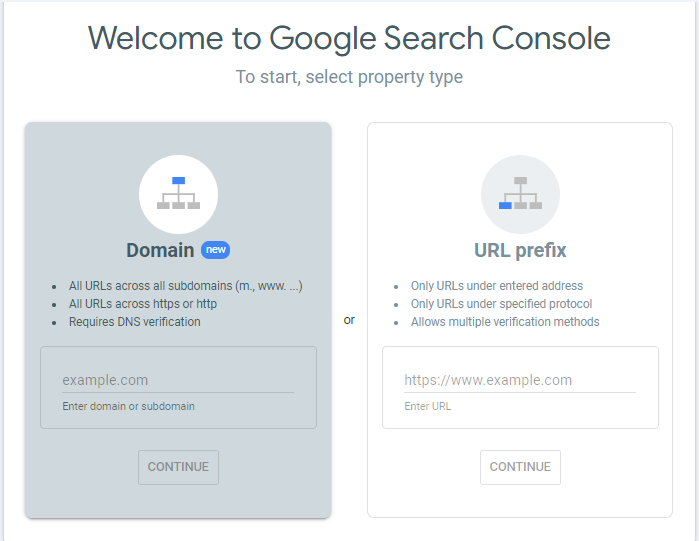
Google offers two types of properties you can add: ‘Domain’ or ‘URL prefix’. Choose:
- Domain: This covers all URLs across all subdomains and protocols (such as HTTPS).
- URL prefix: This covers URLs under the exact URL you specify and is easier to verify with several methods available.
- For WordPress sites, a URL prefix is often sufficient and straightforward to handle, especially if you plan to add Google Search Console Code to WordPress.
- Enter your website’s URL:
- Input the URL of your WordPress site. Make sure to enter the exact URL you want to track.
- Proceed to verification:
- After entering your site, Google will prompt you to verify ownership of the URL. This step is crucial as it prevents others from accessing your data on Google Search Console.
Step 2: Add Google Search Console Verification Code to WordPress
Overview of Verification Methods
Google offers several methods to verify your site ownership, each with its own process. Choosing the right one depends on your technical comfort level and the resources available to you:
- HTML file upload
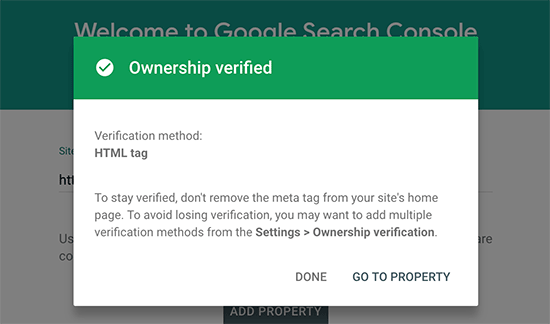
- HTML tag
- DNS record
- Google Analytics
- Google Tag Manager
Each method has advantages, some quicker than others, but all are secure ways to verify ownership.
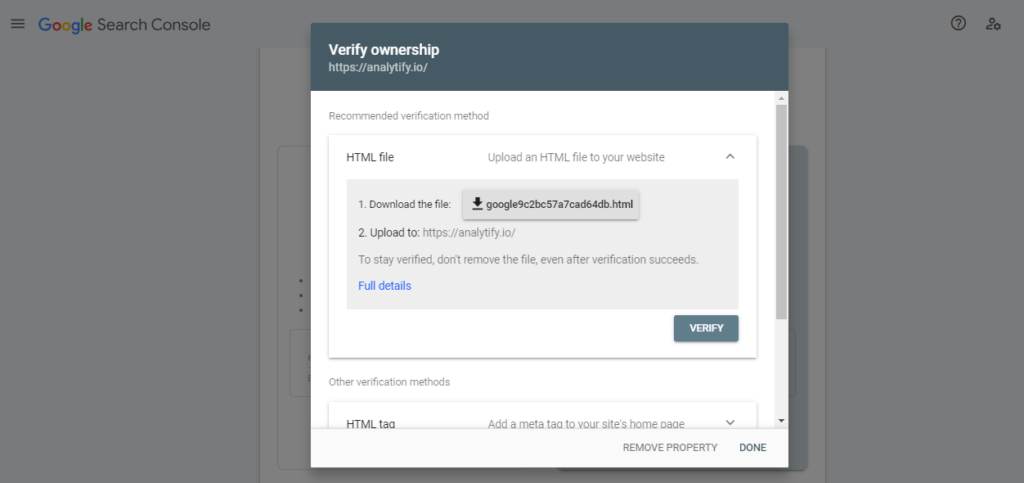
1. HTML File Upload:
- Download the HTML verification file from Google Search Console.
- Log in to your WordPress hosting file manager or connect to your server via FTP.
- Navigate to the root directory of your website and upload the HTML file there.
- Once uploaded, you can confirm the upload by visiting http://yourdomain.com/your-google-verification-file.html. If you see the verification file, you’re set.
- Return to Google Search Console and click “Verify” to complete the process.
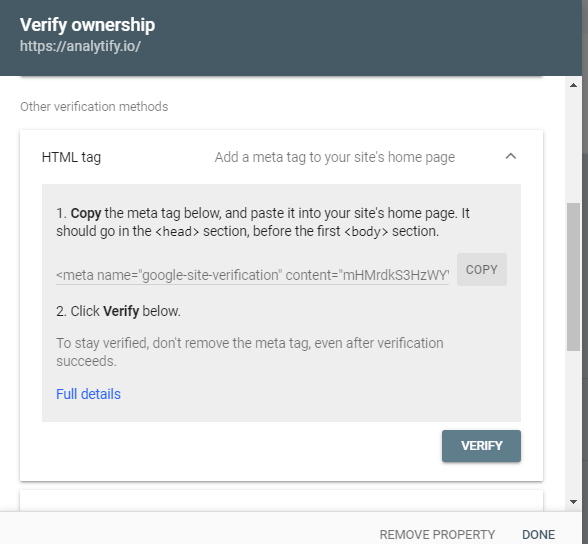
2. HTML Tag:
- Select the HTML tag option in Google Search Console to get the meta tag.
- Copy the Google Search Console Verification Code.
- Go to your WordPress dashboard and install a plugin if necessary (like Insert Headers and Footers or use your theme’s built-in function to add header scripts).
- Paste the meta tag into the <head> section of your site.
- Save changes and return to Google Search Console to verify.
3. DNS Record:
- Choose the DNS record option in Google Search Console. You’ll be given a TXT record.
- Log in to your domain name registrar’s dashboard (where you registered your domain).
- Navigate to the DNS management area and add the TXT record to your DNS settings.
- Save the changes. Note that DNS changes may take some time to propagate, typically up to 48 hours.
- After propagation, verify ownership in Google Search Console.
4. Google Analytics:
- This method works if you already have Google Analytics set up with the tracking code on your site.
- Ensure the Google Analytics code you use is the asynchronous version, and you have “Edit” permissions in your Google Analytics account.
- Select this verification option in Google Search Console, and it will automatically check for the presence of the Google Analytics code on your site’s home page.
5. Google Tag Manager:
- If you have Google Tag Manager installed, make sure you have “View, Edit, and Manage” permissions.
- Google Search Console will verify via the Google Tag Manager container snippet. To ensure seamless verification, just select this option.
By completing any of these verification methods, you secure access to a wide range of tools and reports that can significantly enhance your site’s SEO and online visibility. Each method has its own merits, and you can choose the one that best fits your technical capabilities and access resources.
By completing these steps, you’ve created your Google Search Console account.
Step 3: Integrating Google Search Console with Google Analytics
Integrating Google Search Console with Google Analytics provides a powerful combination of data to help you understand your website’s search performance alongside user behavior and traffic sources. This integration allows you to see how users from organic search interact with your site once they land on it.
Here’s how to connect Google Search Console to Google Analytics:
Step-by-Step Guide to Integrating Google Search Console with Google Analytics
- Ensure You Have the Correct Permissions:
- Before starting, ensure you have administrative access to both the Google Analytics and Google Search Console accounts you want to link.
- Access Google Analytics:
- Log into your Google Analytics account and select the property that corresponds to the website you have set up in Google Search Console.
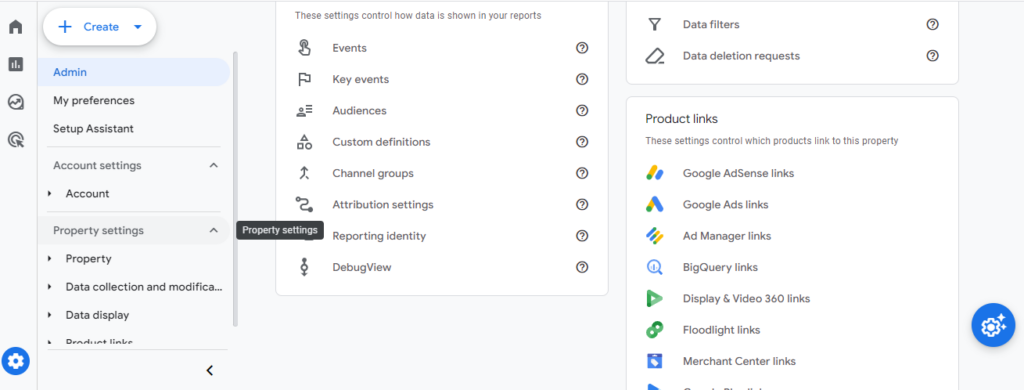
- Navigate to Property Settings:
- Click on ‘Admin’ at the bottom left of your Google Analytics dashboard, and then click ‘Property Settings’ under the property column.
- Scroll to Search Console Settings:
- The’ Search Console’ section is at the bottom of the Property Settings page. Click on ‘Adjust Search Console’ to open the page.
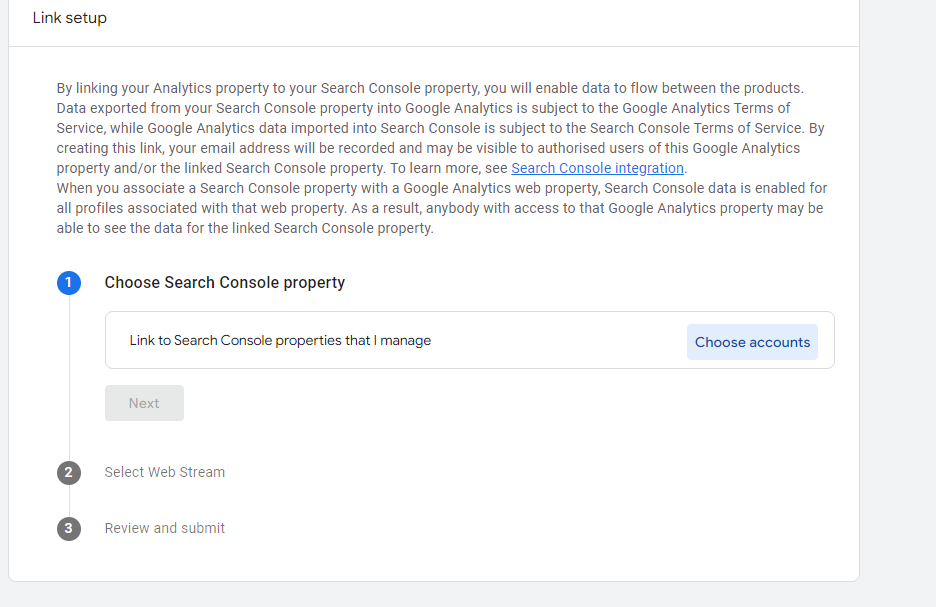
- Add Search Console Data Sharing:
- On the next screen, you’ll see if there are any Search Console properties already linked. To add a new connection, click on ‘Link’.
- This will redirect you to the Search Console settings, where you can see the eligible Search Console properties that can be linked.
- Select the Appropriate Search Console Property:
- Choose the Search Console property that corresponds to the Google Analytics property. If it’s not listed, ensure you have verified the website’s ownership in Google Search Console as described in previous sections.
- Save and Complete the Integration:
- After selecting, click ‘Save’ to finalize the integration.
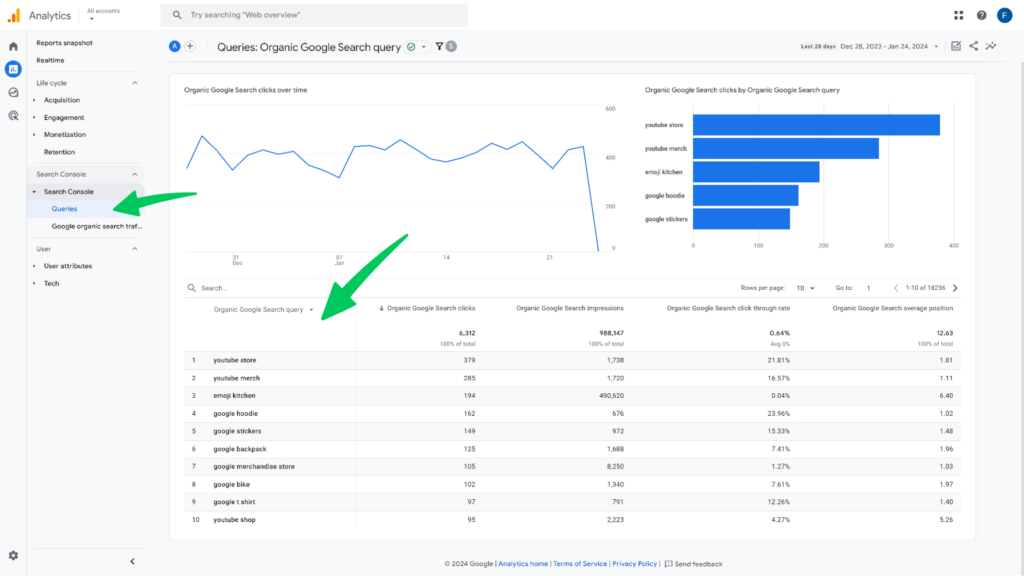
- You can now see data from Google Search Console in Google Analytics by navigating to the Reports >> Search Console section of your reporting view.
Benefits of Integrating Google Search Console with Google Analytics
- Comprehensive Data Overview: Combines the strengths of both platforms, giving you insights from the point of entry (via search) through the user’s journey on the site.
- Enhanced Reporting Features: Access detailed reports on landing pages, countries, devices, and queries directly from Google Analytics.
- Streamlined Analysis: Simplifies the process of analyzing user behavior and conversion metrics in relation to organic search traffic.
With Google Search Console and Google Analytics now working together, you’re better equipped to make data-driven decisions that can enhance your site’s SEO and user experience. If you have any questions about this integration or need further assistance with other features of Google Search Console, feel free to ask!
Step 4: Using Google Search Console Features
Once you have Google Search Console set up and integrated with your WordPress site and Google Analytics, you can start taking advantage of its numerous features to monitor and improve your site’s performance. This section covers using these features effectively, focusing on understanding performance reports, resolving index coverage errors, and optimizing your site.
Overview and Analysis
Google Search Console offers comprehensive tools for monitoring your site’s performance in Google search. Understanding how to interpret these reports and address any issues is key to maintaining a healthy website.
How to Interpret Performance Reports
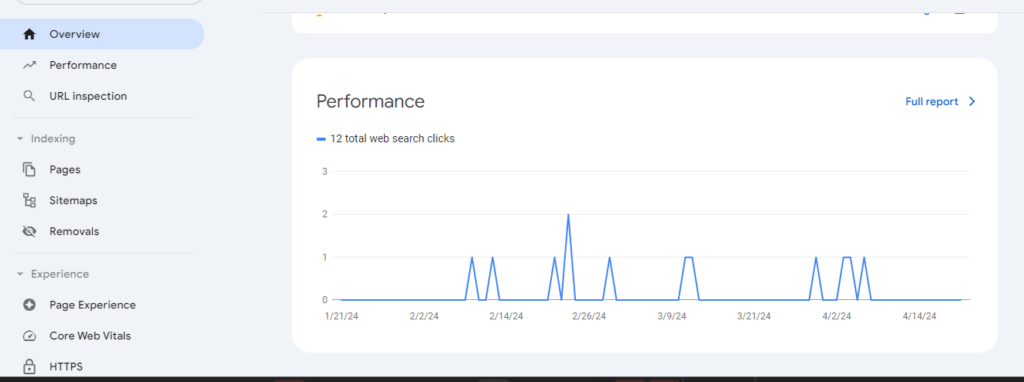
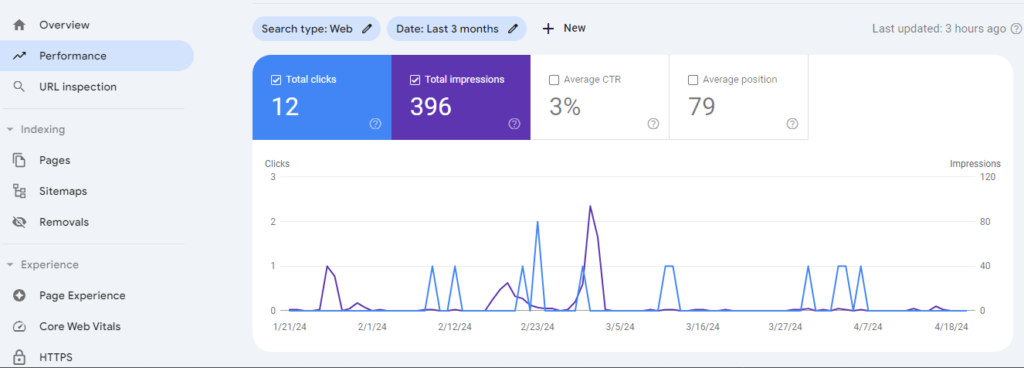
- Performance Dashboard: Access this via the ‘Performance’ tab. It shows metrics such as Total Clicks, Total Impressions, Average CTR (Click-Through Rate), and Average Position.
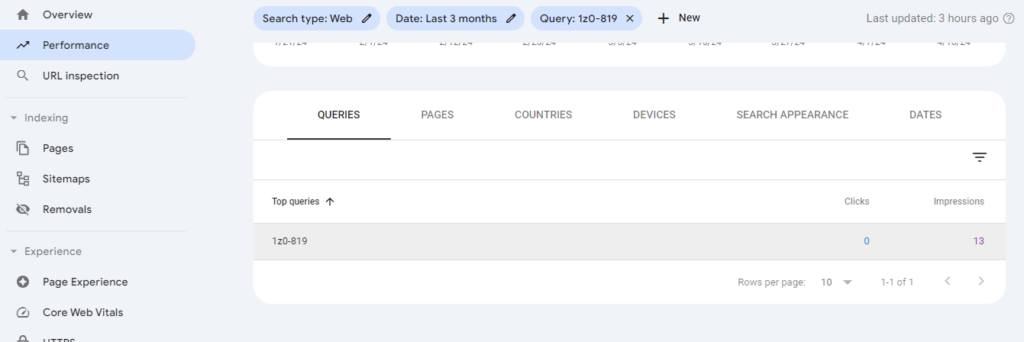
- Query Analysis: Identify which search queries drive the most traffic to your site. Look for trends and queries where your site could improve in visibility.
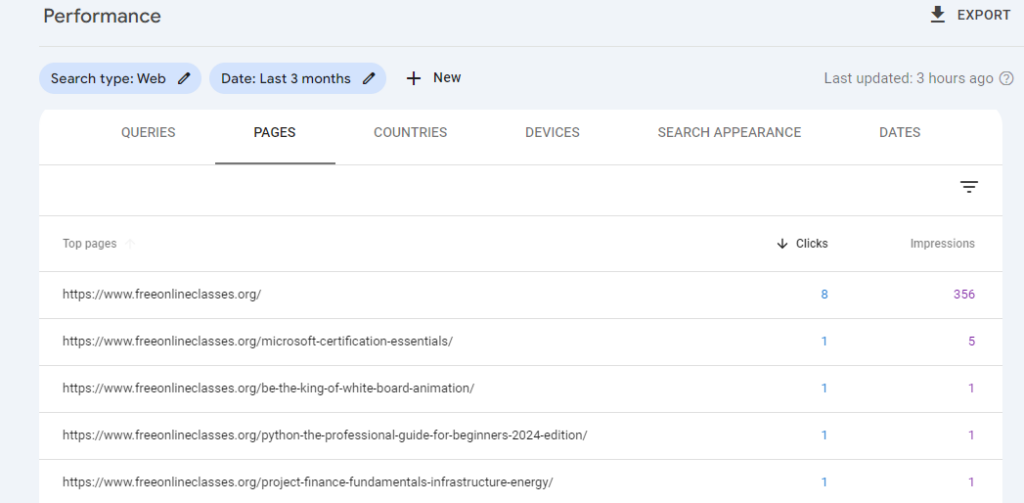
- Page Analysis: Review which pages get the most clicks and impressions. This helps you understand which content resonates best with your audience.
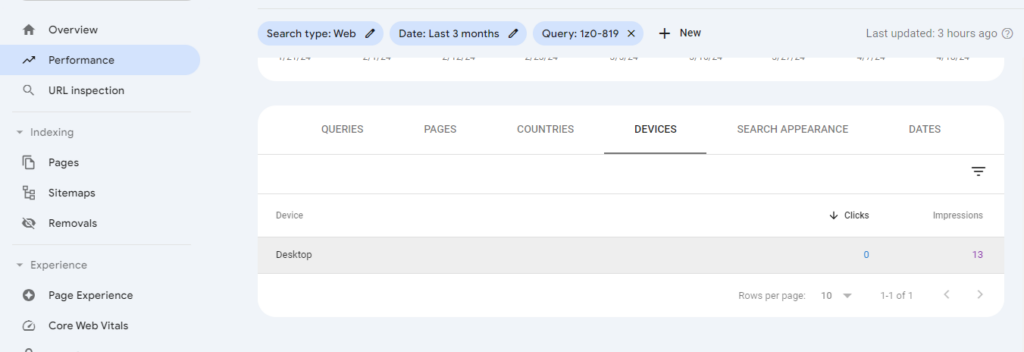
- Devices: Analyze performance across different devices, which can help tailor your content and SEO strategies to optimize for mobile, desktop, or tablet users.
Understanding Index Coverage Errors and How to Fix Them
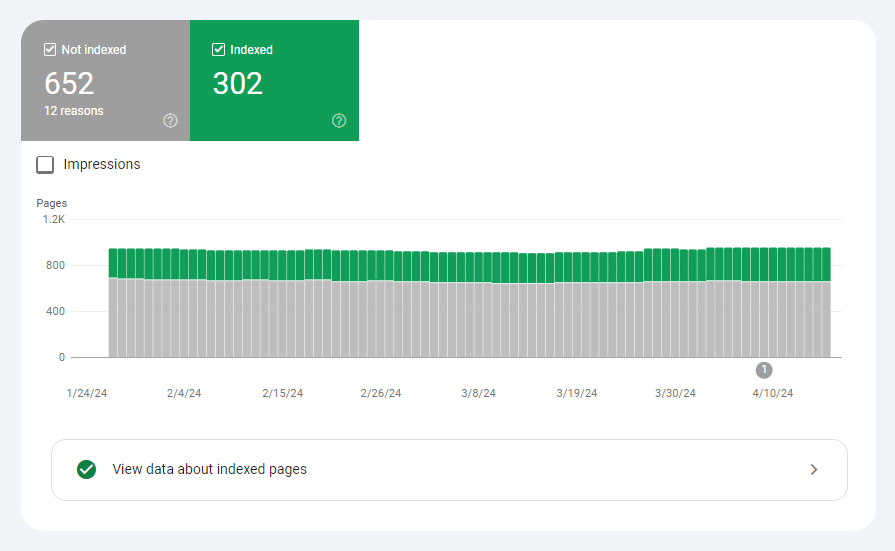
- Index Report: Found under the ‘Index’ section, this report details which pages have been indexed successfully, warnings about potential issues, and errors that prevent pages from being indexed.
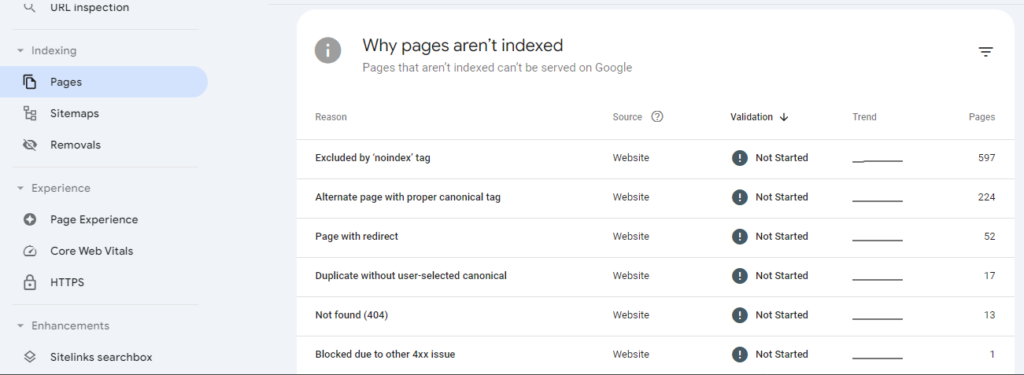
You will see a report of some pages not indexed. Here are common reasons why pages might not be indexed, as indicated in the report:
- Crawl issues: If Google cannot crawl a page due to server errors, redirects, or incorrect robot.txt settings, the page will not be indexed.
- Noindex directive: Pages with a ‘noindex’ tag in the HTML or HTTP headers are explicitly told not to be indexed by search engines.
- Blocked by robots.txt: Pages blocked by the robots.txt file cannot be accessed by Googlebot, preventing them from being indexed.
- Duplicate content: Google might choose not to index a page if it is very similar to other content on the web, especially within the same site, to avoid redundancy in search results.
- Soft 404 errors: Pages that don’t have a clear content or that lead to an error page might be treated as “soft 404” and not indexed.
- Crawl budget: If a site has many pages and limited crawl budget, some pages might not be frequently visited by Googlebot, delaying or omitting their indexing.
- Page quality: Low-quality pages that do not meet Google’s quality guidelines may be omitted from the index.
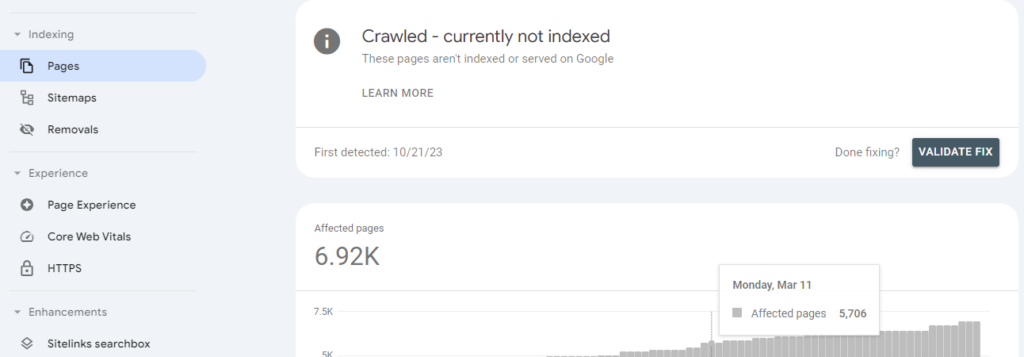
- Fixing Errors: Click on an error to see affected URLs. Fix the issues on your site and then use the ‘Validate Fix’ button to ask Google to re-crawl and re-evaluate the pages.
Enhancements and Optimizations
Optimizing your site’s usability and managing its structure through Google Search Console can significantly improve SEO.
Using the URL Inspection Tool
- Functionality: This tool lets you see the indexing status and crawl history of any URL on your site directly from Google’s index.
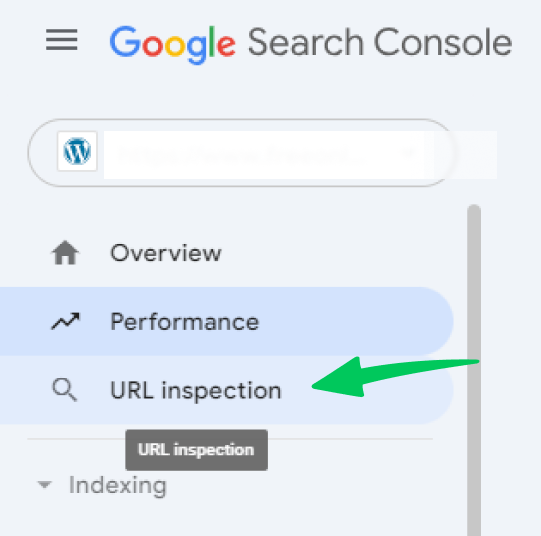
- Usage: After clicking on URL inspection, you’ll be navigated to the search bar. Simply enter the URL you want to check into the search bar. You’ll find results a shown in the below screenshot:
If you’ve made updates or fixes, you can also request a new crawl.
By utilizing these features of Google Search Console, you can ensure your site performs well in Google searches and offers a good user experience.
Integrating Google Analytics with WordPress Using Analytify
For WordPress users looking for a streamlined, user-friendly way to integrate Google Analytics into their websites, Analytify is an excellent solution. This plugin simplifies the integration process and enhances how you view and interact with your analytics data directly from your WordPress dashboard.
Join 50,000+ beginners & professionals who use Analytify to simplify their WordPress Analytics!
Why Choose Analytify?
- Ease of Use: Analytify makes Google Analytics simple for everyone by displaying the statistics in a more understandable form right within the WordPress dashboard. There is no need to navigate away from your site to analyze the data.
- Real-Time Stats: Your dashboard will display real-time statistics, including views, top pages, and top countries, which helps you make quick decisions based on live data.
- Enhanced eCommerce Tracking: For online stores, Analytify improves the tracking and reporting of WooCommerce activities directly in your dashboard, providing insights into customer behavior and sales data.
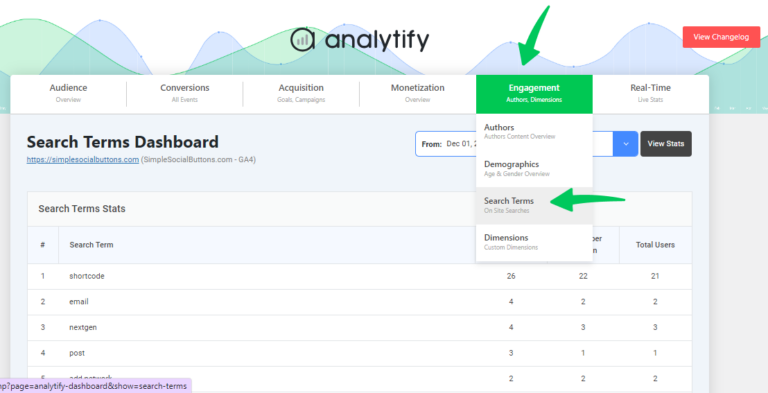
- Search Terms Tracking: You can also see search term reports from the Analytify dashboard.
- Simplified Google Analytics: You don’t need to be an analytics expert; Analytify translates complex data into actionable insights directly on your WordPress site.
- Comprehensive Reporting: This feature offers detailed reports that are easily understood and accessible directly within your WordPress dashboard, saving you time and effort.
- Support and Updates: Analytify is well-supported with regular updates that keep the plugin secure and efficient, ensuring it works seamlessly with the latest versions of WordPress and Google Analytics.
How to Integrate Analytify with WordPress?
Go to your WordPress dashboard, navigate to ‘Plugins’, click ‘Add New’, and search for ‘Analytify’. Install and activate the plugin.
Read How to Install And Activate Analytify Pro Plugin.
FAQs
How to add Google Search Console to WordPress?
To add Google Search Console to WordPress, go to the Google Search Console website, sign in, add your site as a property, and verify ownership using one of the methods provided, such as HTML tag, DNS verification, or via Google Analytics.
What are the benefits of connecting Google Search Console to WordPress?
Connecting Google Search Console to WordPress allows you to monitor your site’s search traffic and performance, understand your search engine rankings, and get alerts about issues that could impact your site’s visibility in Google Search.
How to add Google Search Console code to WordPress?
To add GSC code to WordPress, use a plugin like Insert Headers and Footers, or edit your theme’s header.php file to include the HTML verification tag provided by Google Search Console during the verification process.
How to add WordPress site to Google Search Console?
Verify your WordPress site in Google Search Console by adding a verification code to your site. You can do this by uploading an HTML file to your server, adding a meta tag to your site’s header, or linking to your Google Analytics account if it uses the same Google account.
Can Google Search Console integrate with Google Analytics for a WordPress site?
Yes, you can integrate Google Search Console with Google Analytics for a WordPress site to view search performance data directly within your Google Analytics dashboard, enhancing your ability to analyze visitor behavior from organic search.
Where do I find the Google Search Console verification code?
The Google Search Console verification code can be found in your Google Search Console dashboard under the verification details section once you add a new property and select the verification method you prefer.
What should I do if I can’t add my WordPress site to Google Search Console?
If you’re having trouble and can’t add your WordPress site to Google Search Console, check to ensure that the URL you entered matches exactly what is shown in your site’s address bar, including the HTTP or HTTPS and www if applicable. Also, ensure no redirects are interfering with the verification process and that your site is accessible online.
Conclusion
Google Search Console is a powerful tool that offers invaluable insights into how your site performs in Google Search. It helps you understand your site’s search performance, understand traffic, and optimize visibility.
We’ve covered the essentials of using Google Search Console with WordPress, from account creation and site verification to configuring settings and integrating with Google Analytics.
Implement the setup, explore its features, and use it to enhance your site’s SEO and adapt to changes in digital marketing.
We hope this article helped you to do the Google Search Console setup effectively improving your website’s search rankings and overall performance.
You may also like to read How to Install Google Tag Manager (Beginners Guide).
If you are stuck at any point, reach us in the comment box.

