Are you wondering how to customize your GA4 email reports to showcase the most relevant statistics?
With the Email Notifications Add-on in Analytify, customizing your email stats is so easy. It allows you to select specific statistics to be included in your GA4 email reports.
This feature is particularly useful for customizing your reports to focus on the data that matters most to you or your organization. Whether you’re looking to include General Stats, Top Pages, Geographical Insights, System Information, Keyword Performance, Social Media Engagement, eCommerce Data, or the latest updates with “What’s Happening” Stats, the choice is yours.
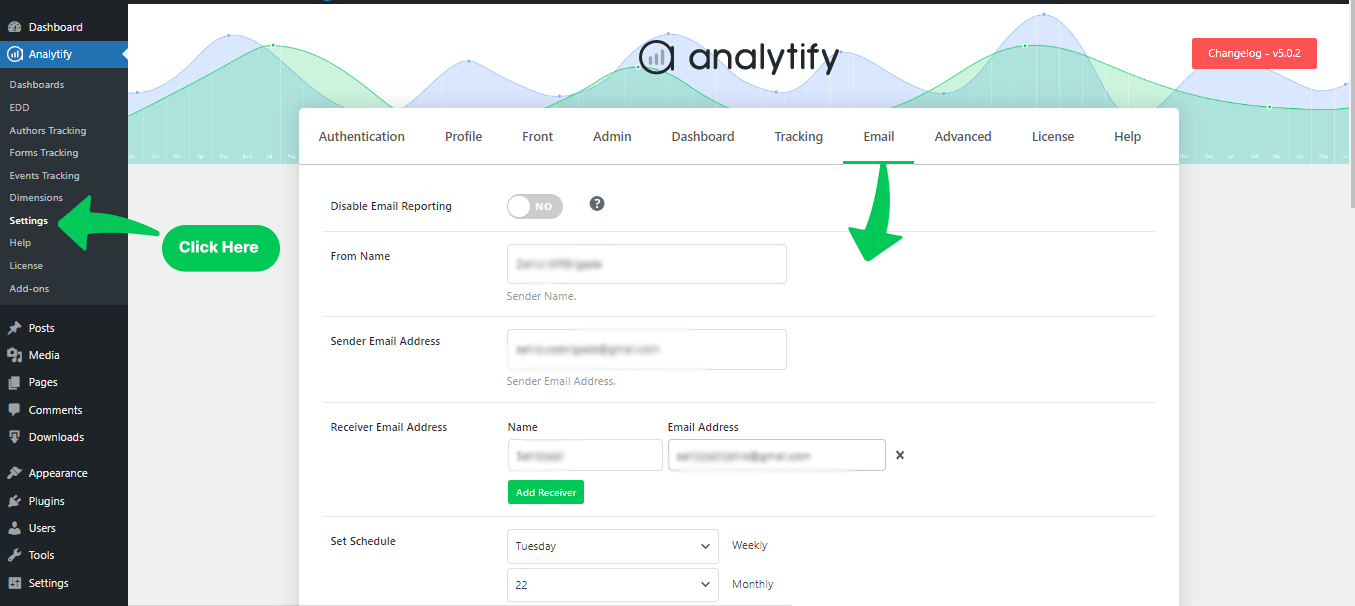
Here’s a quick guide to get you started:

This feature allows you to create a subject line that is relevant and immediately recognizable to your recipients.

To include your agency logo in the email reports, find the option to upload your logo. This is a simple upload process where you select and upload your logo file from your computer.
Your logo will then appear in the designated area of the email report, enhancing brand presence and making the report look more professional.
Personal notes are a great way to add a custom message to your reports. This could be an overview, interpretation of the data, or any other information you feel is pertinent.
Look for a section in the settings where you can type in or edit your personal note. This might be a text box or an editor field.

The note you write will appear in each email report, adding a personal touch and context to the data presented.
6. Save Changes:
After setting up your customized settings, click on the Save Changes button to ensure your preferences are updated.

This simple customization lets you focus on the metrics and other display options that matter most to you and your team, making your email reports more insightful.
That’s it. We hope you find it easy to customize the Email Stats with the Email Notifications Addon from Analytify on your WordPress site.
If you have any problems with the Email Notifications add-on, look at the FAQs on the Analytify website or contact the Analytify support team.