The Analytify WordPress plugin facilitates tracking at the author level. Author level tracking refers to providing individual authors access to the analytics of their specific posts or pages. By implementing this, each author can independently view and analyze the performance of their content. It includes metrics such as page views, sessions, bounce rates, and more. It helps authors understand their audience better and enables them to improve their content based on real-time data feedback.
This function is included in the free version, while the Analytify Pro Version delivers deeper statistics, including geographic, keywords, social media stats, and more.
In this guide, you’ll learn how to implement author level tracking.
Follow the below steps to turn on this feature.
First, ensure your WordPress site has the Analytify plugin installed and activated. Download Analytify – Google Analytics Dashboard For WordPress and upload the plugin to your WordPress dashboard by navigating to Plugins >> Add New.
We would highly recommend you to upgrade to Analytify Pro if you’re keen on getting more in-depth author-level statistics. With the Pro version, authors gain access to detailed insights about their posts or pages, such as geographical data, keywords, social media stats, and so much more. Upgrading is a breeze – just head over to the Analytify website, purchase a Pro license, and then upgrade your existing plugin.
For a step-by-step guide on how to make the upgrade, take a look at How to Install And Activate Analytify Pro Plugin.
Even in the free version of Analytify, you can set up simple tracking at the author level. It will let writers see stats like page views, visitors, and sessions for their posts or pages.
Go to your WordPress dashboard and navigate to Analytify >> Settings.

To enable post stats, go to Admin and find Enable Analytics under Posts/Pages and toggle on the Yes box next to it.
Then, go to the Display analytics to roles (posts & pages) option, and by clicking in the box next to it, you’ll see the suggestions, i.e., Author, Contributor, Subscriber.
All you need to do is select Author to enable author-level tracking.
For more details, please read our guide: How to View Google Analytics Stats Under Posts and Pages In WordPress.
Then scroll down and click on Save Changes Button.
All done! You’ve successfully Set up Author level tracking.
The authors can track the stats of their specific WordPress posts or pages under each of them by following the simple steps:
Go to the bottom of the post (where you want to see stats) by scrolling down.
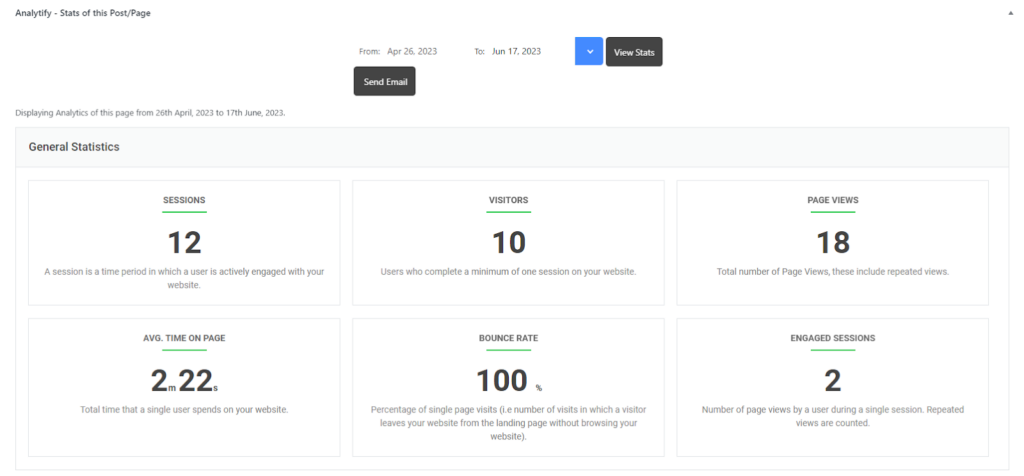
You’ll see View Stats and Send Email options. Click on View Stats, as shown in the below picture.

After clicking on View Stats, you’ll be able to see stats for your post.
Note: You need to Enable Analytics under Posts/Pages.
That’s all! We hope this article helped you understand and implement author-level tracking.
You may also like to know How To Get Started With The Authors Tracking Add-On.
If you have any further queries, please don’t hesitate to contact our support team.